18 February 2011

HVAC and More Staining

Our 15.2 SEER Carrier units were installed yesterday, including all of the interior air handlers and all plumbing for them was completed.


Today Keith the electrician built the new electric service boxes and hooked up the HVAC units, the garage, the pool pump, the driveway gate, and a few outlets in the house.  The 220 circuit breaker panel is on the rear of the garage, while the 110 circuit breaker subpanel will be in the utility room.


The trench in the above photo is for the propane line.  (We'll be dropping a propane tank next to the woods behind Garrett.)  We'll only be using propane for the cooktop, but also will run a stub line to the back of the patio for a future bbq location and we ran a line to the dryer in case we ever use gas.  Our roofers built a custom enclosure for our exhaust fan and installed that on the roof today.  (We went with a roof-mounted exhaust fan to avoid noise in the kitchen.)  That was the last piece of metal flashing to go on the roof, so now we are ready to paint it all to match the shingles.

Gratuitous kitchen cabinet photos, after an oil based stain, sanding sealer, and two lacquer coats for a catalyzed top coat finish.  (The vent hood was sent back to correct construction defects.)


Tommy and crew also began staining windows and doors today.  Here is one of the interior doors after staining, but before sealing and lacquer.


And a window, also after stain only.


And the front door, stain only.  We went with a darker color for the front door and frame, which is solid mahogany.

16 February 2011

Landscaping and Kitchen Cabinets

The landscaping folks arrived to finish the exterior grading.  Because our lot is sloped and has had water issues in the past we wanted to make sure all water was routed away from the home.  This means a series of swales near the house and berms and swales about 15 yards from the house.  We had a bobcat front end loader and mini skid-steer excavator at the house for the past few days.


After initial grading, I wanted to make doubly sure we had good drainage, so we took this area down a bit:


The main problem area in the house was just to the right of the picture above, and this fixed the problem.

Once we removed the dirt, Pedro suggested a rock wall using the rocks from the newly demolished yard pond.  that would prevent the swale (ditch) from filling in with surround dirt.


And the completed view that shows the elevation change.  (The bright orange on the side of the house is not the home color - there is a giant fluorescent orange construction dumpster just behind the camera reflecting on the house.)


Here's a preview of the kitchen cabinets with stain only - the sanding sealer and top coat have not yet been applied.  Exactly the color we were hoping for...


12 February 2011

Garage Doors

Today we installed the garage doors.  Since our garage is insulated, we went with a 2" insulated garage door.  We also chose a belt drive rather than chain drive system since the kids' bedrooms are above the garage.


The doors are incredibly quiet.  They came with an outdoor keypad and remotes.  We went with a contemporary, clean look on the outside.  The doors are ready to be painted with a latex outdoor paint, and we plan to go with the brown color on our soffits.


Staining continues inside the house.  At least 2 coats of lacquer complete the cabinets.  Here's the entertainment center/bookshelves after the first coat.


Here's a shot of the entertainment center next to the floor.  The idea was to pick up the lighter highlights in the floor rather than going dark to match the floor.


The master bath looks great.  Even though they are dark, the rest of the bath should lighten it up a bit.  Much of the tile is white or gray glass tile, the ceilings will be white, the faucets polished nickel, and the vanity tops and bath surround are carrara marble.


The pictures don't really capture it - here's part of the same cabinet as above from a different angle - the actual color is more like the above picture.  Looking at the brown color (no red) it is hard to believe it is actually cherry.


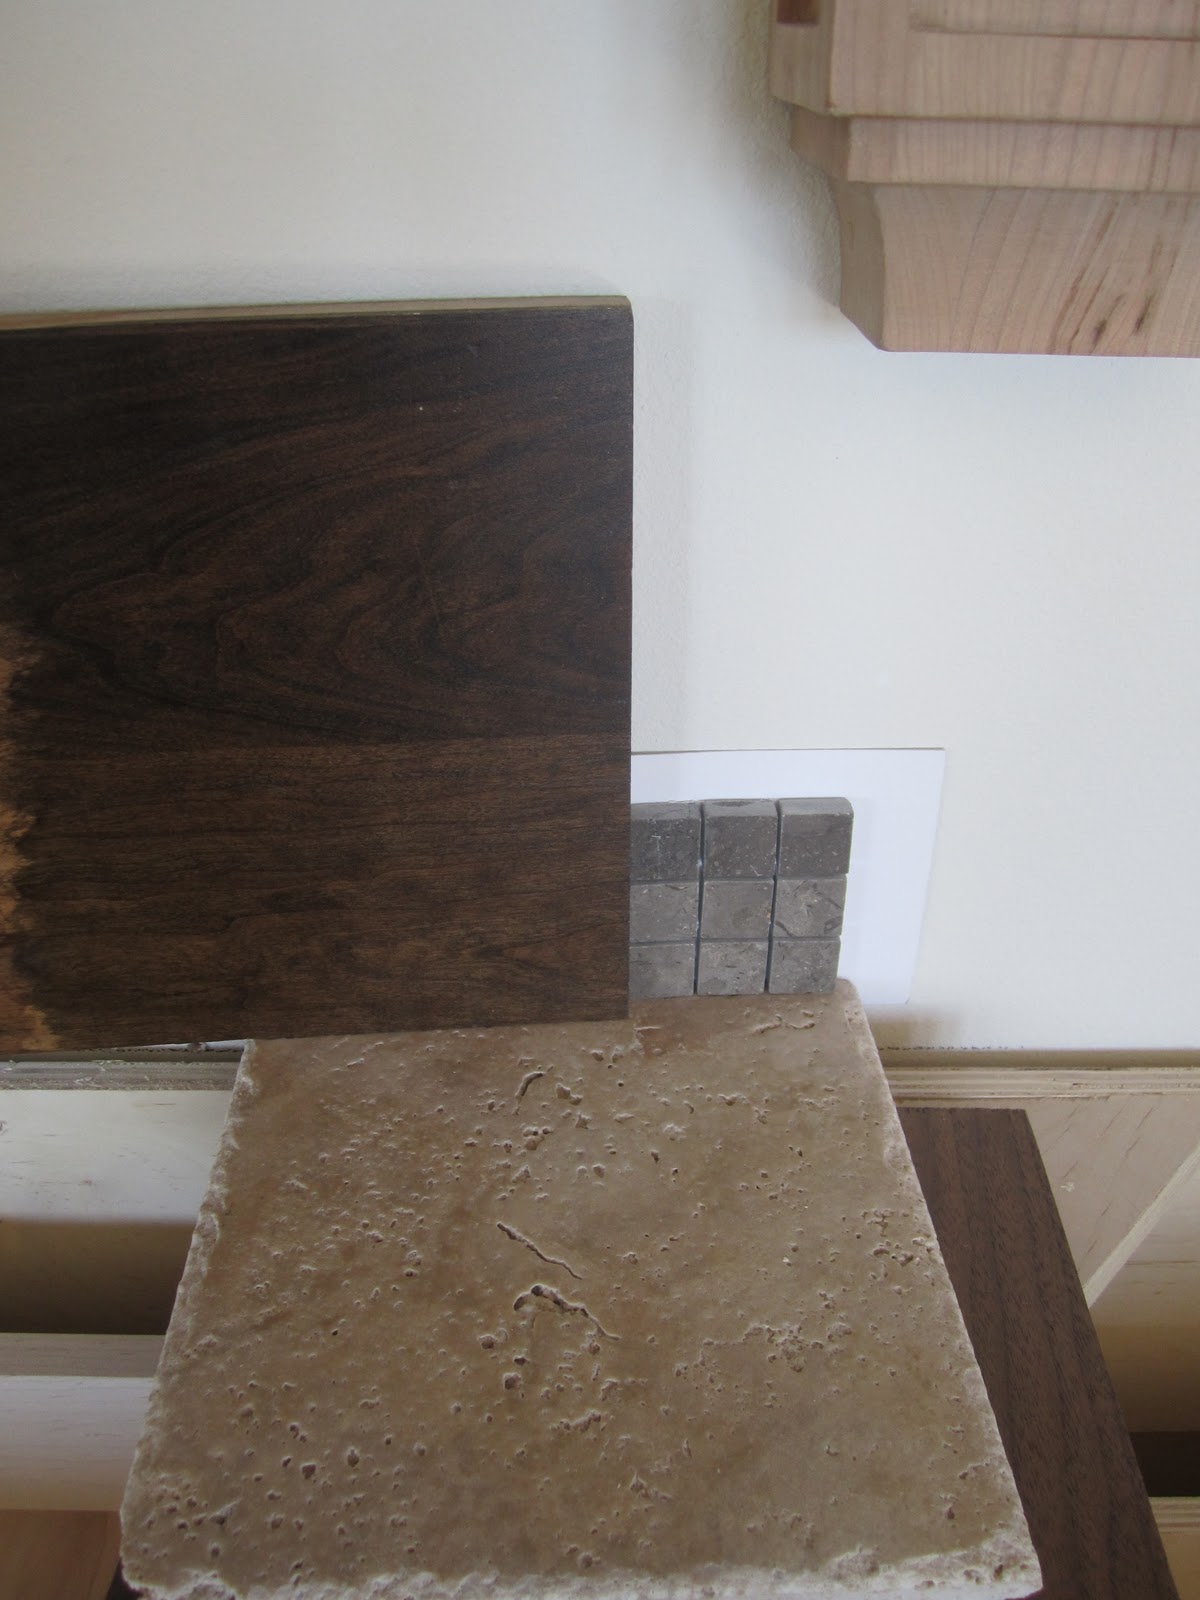
For our kitchen backsplash, we had originally planned to go with a smooth travertine subway tile, and a decorative insert of small cut travertine/glass tile mosaic.  However, this choice was pushing us into paint colors we didn't really like - a lot of beige and tan.  Since we want more neutral colors we went back to the drawing board and selected different materials for the same backsplash pattern.  We picked subway tiles in a natural stone - grey Jerusalem stone.  It has flecks the same color as the travertine floor.  The new material for the decorative insert is a mosaic of calacatta marble, Jerusalem stone, and travertine.   Here's a pic of the floor, kitchen cabinet color, and the backsplash stone (the actual stone tiles will be 3"x8").


Tomorrow the excavator comes to remove the pond in foreground below, a few stumps, and grade around the house.  I wire-brushed, primed, and painted the swing, but it will probably get moved to the woods in back.