15 March 2011

Making Sausage

Everyone wants to eat sausage but no one wants to see it being made.  That was the past few days.  Home building is an ugly process full of dented walls, chipped edges, and do-overs.  The guest bath was first to receive tile:


The master bath shower received a seat and the start of glass tiles.


The tub surround was brought out as a 700 lb solid sheet...


It looks nice, but Guillermo (Memo) had to chisel out all the sheetrock to get it to fit, and then we found out the curvature at the front had not been cut correctly.  So back to the marble shop...


After many false starts we chose our accent wall color in the living room, Tony Taupe.  It is two shades lighter than the surrounding Accessible Beige.  Welcome to our Greige wonderland.  The island arrived:


None of these pictures are particularly lifelike because all of the windows are still covered with painter's plastic as the painters haven't finished yet.  The colors are much richer in person.   Tomorrow we remove the windows to stain the wood trim around the opening portion of the casement windows.  Also the marble bath surround will be returned with a few more sink tops, and the kid's bathroom tiles laid.

11 March 2011

Marble

Before we even bought the house we spent a lot of time on the CotedeTexas blog.  We really wanted the look of marble counters in our home but didn't want the hassle of living with marble.  We looked at Okite engineered alternatives, actual marble, and similar looking natural stone products from Brazil.  We finally found a stone we loved that had the look of marble but was granite.  The six times we went out to examine it, we were told every time it was granite.  When we went to purchase it, the name changed to "Dolce Vita" marble.  Too late, we bought it anyway. 

For our island we wanted an overhang for counter seating but to try and keep the marble from snapping off during table dancing we looked for a way to provide structural stability.  After exploring many options we ultimately went to the local steel shop and purchased custom lengths of 1/2" by 6" flat steel.


A local welder attached a tab to screw the center section to the island and we used PL400 to glue the steel sections to the island.  (The island is only temporarily "slate" colored.  We will faux finish later.)  We did careful mockups to place the steel in a way that it would not be seen easily but still optimize strength.


Next, we found some plywood the same width and put it all over the island with PL400 and wood screws.


Some of the marble arrived this afternoon and the rest comes tomorrow morning.


The first countertop is put in place....


We also worked on light selections this week.  We plan to go with an industrial looking stainless steel pendant for our 3 over counter lights.  Our designers want to go with 10" diameter lights but I thought they would be too large so Garrett and I mocked up an industrial pendant look with empty 6.5" diameter paint cans.


Turns out the designers are probably right.

Colors

We are finally getting the colors finished.  We only have one color left to select, and as of today the majority of the house is painted.  A lot of the house is the aptly named "Accessible Beige":

The master bedroom is "Modern Gray" with an accent wall in "Flint".


The master bath is a slightly darker gray, "Smoke Embers", with an accent wall in "Flint" which is opposite the "Flint" wall in the master bedroom.  Sneak peek of the Carrara.


The modern guest bath is another shade of gray:


In this view of the upstairs from the stairway we can see each of the kids' rooms plus the bath.


Our 3 year old daughter wanted a pink and purple room.  The first words out of her mouth when she saw it..."where's the purple?"


Our boy's room looks like the old Baltimore and Ohio RR:


The woman of the house gets the "Montpelier Blue" treatment in her office:


And my office defies description.  It is alternatively gray, brown, or other depending on the light and the wall.  This picture doesn't really depict it.


We finally received our completed vent hood...

04 March 2011

Clean Water

The house came with a well and the option to use city water.  Since city water has a large upfront cost plus monthly subscription fee, I wanted to use the well.  We decided to rip out the 25 year old water softener and filter system, and replace it with a supersize water softener, two oversized filters (a 25 micron and 1 micron inline), followed by a large UV light to kill any bacteria.  (Interestingly, the reason we need a maximum 5 micron filter is because bacteria could be in the shadow of any particles larger than 5 microns and thus pass by the UV filter unscathed.)

We had a crew working on this project all day:

Here's the finished product.  The only thing that we re-used was the brass check valve.  That is the dark piece inline (right, center) with the vertical 1 1/4" PVC pipe.  The check valve has a pressure switch (the gray rectangle with electrical conduit coming out) and a pressure valve attached to it.  The pump in the well keeps the pressure in the line around 65 PSI using the check valve. 

The water from the well has 3 outlets from the pump house - one goes to the hose bibs in the yard, one to the hose bibs on the house, and the third to the house.  The 86 gallon pressure tank (blue, right) maintains pressure in the line and reduces the number of times the well pump must stop/start.  Only the water to the house is treated (softener, filters, UV light).  Here's a picture of the UV light which kills bacteria.


The light bulb is centered in the metal housing and slides out the right hand side.


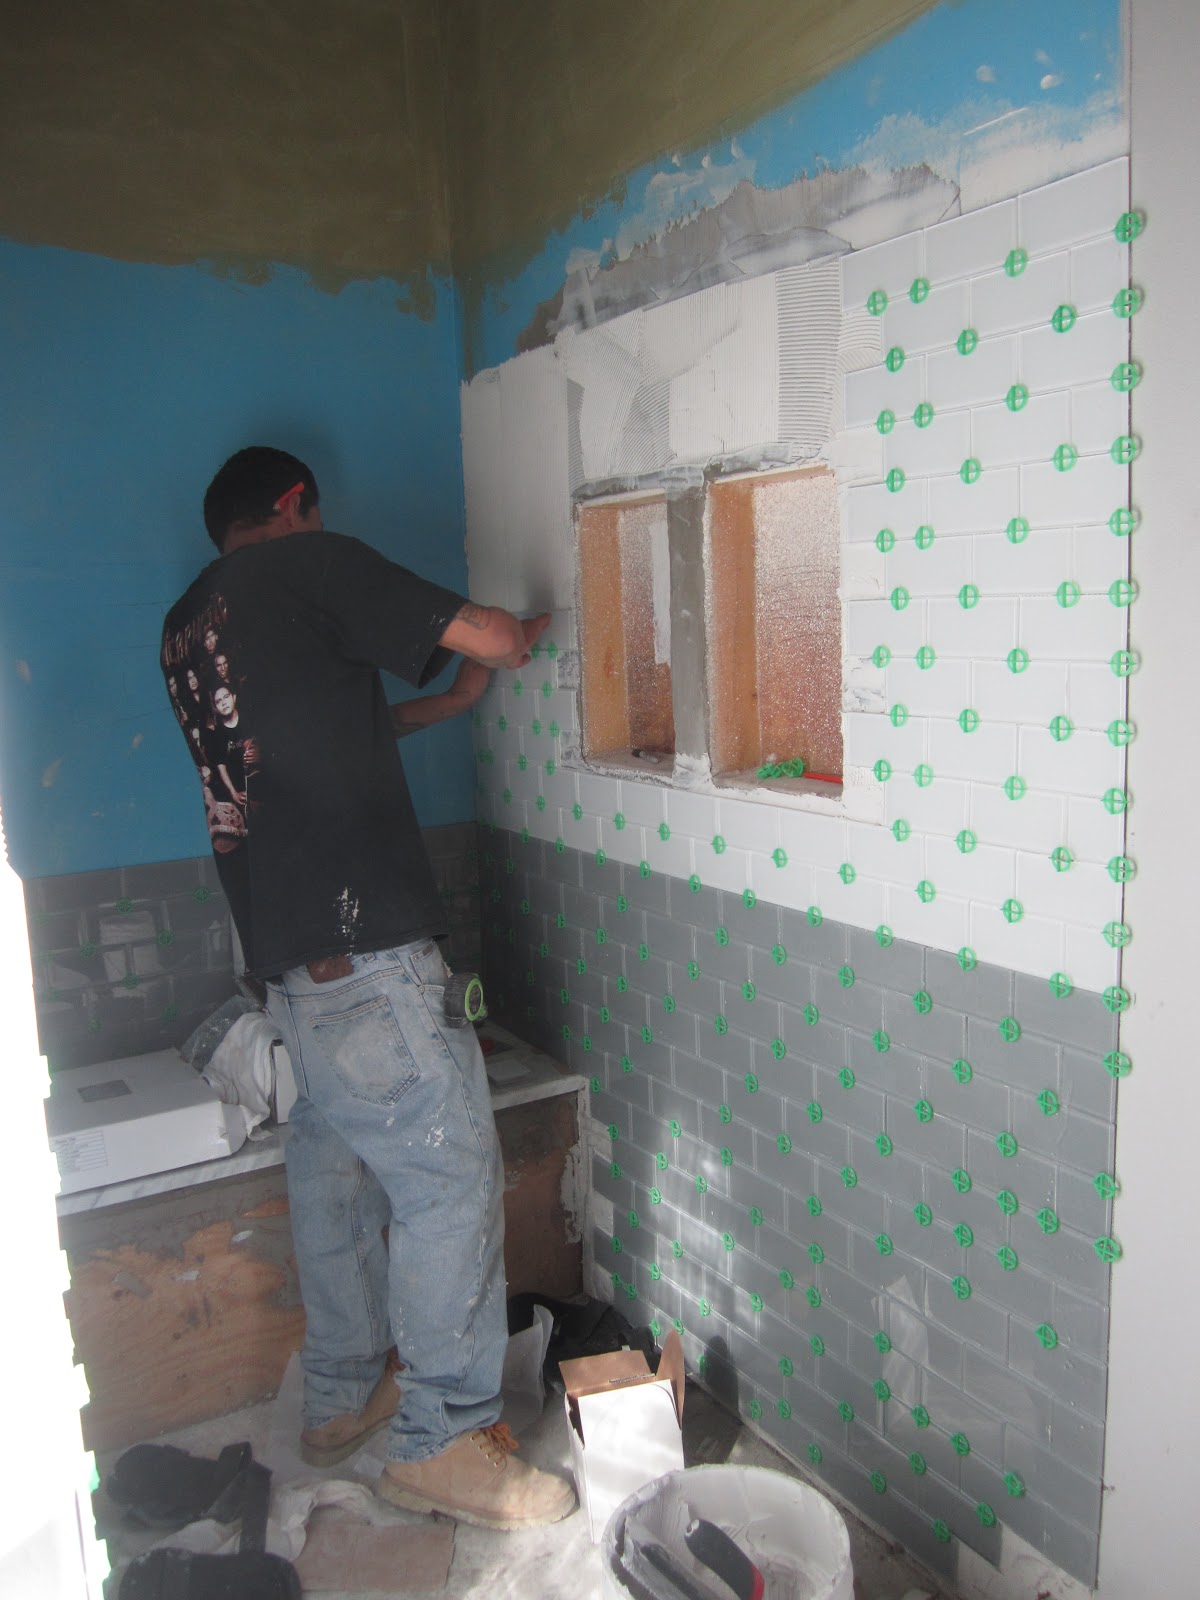
Since last time we've primarily been painting and staining.  Because the windows and cabinets are covered/taped there are not many pictures.  We expect to be rolling the colored paint on the walls Monday, and installing bathroom tile floors mid-week.  We also will be cutting and installing our marble countertops and bath surrounds next week.  (Today I bought a great Bosch rotary hammer drill and installed blocking under the master bath tub surround for support.) Here's the interior with painting in progress.  Most everything is taped up and the island is primed (it won't stay white).


The trim and ceiling is Glacier White, which is a creamy white.  We primed, orange peeled, and painted about 18 2'x3' pieces of plywood with different colors to select interior colors.  We are going mostly with neutrals (greige, ha).  Here's a picture of Accessible Beige held up over the trim.


We have a few dramatic (darker) colors too.  Next week we'll turn on the AC to get the humidity right (hardwood floors need to acclimatize for a few weeks before install), order lights, and start tiling.