31 January 2011

Trim and Doors

The interior doors arrived today.  Our trim carpenters are hard at work installing doors, closets, baseboards, window sills, shelves, and our mudroom storage area.  We went with a chamfered edge on the window sills.


Here's another view, plus you can see the work from the painting crew as they are prepping the cabinets for painting and staining by caulking and filling nail holes.


And a close-up.


Since we chose shaker style doors for our cabinets we wanted to continue that look in the house.  We selected 3 panel shaker style doors for the interior doors.  Several are stain grade but most will be painted white, as will the baseboards and door trim.  Here is the door to the master bedroom.


And the paint-grade version:


In the master bath:


We saved some money on the guest bedroom closet by choosing flat panel paint grade doors.  We wanted doors that open for full access to the closet and to avoid those annoying panel or bi-fold doors.


Our front door is a similar style, but solid mahogany with reeded glass panels.  Upside down here:


Here are the left and right sides of the kids' closets.  The shelves are varying widths on the left and there are two hanging racks on the rack.  Likely we'll put a mirror on the back wall.

 
And the larger of the master closets....shoe shelves on the right, tall hang-ups further back on the right, a couple of different sets of shelves on the left, and four racks of short hang-ups.


 View from the far wall of the closet looking back to the door:

25 January 2011

Paint and Cabinet Install

Progress has been slow (painting due to the cold weather and cabinets due to fabrication mistakes) but is steadily moving forward.  We selected our paint color without first painting some of the house (BIG MISTAKE).  Immediately we regretted our choice as it looked muddy orange.

We were resigned to repaint later, but after it dried it has become less objectionable.


Even better in the shade:


And the rear of the house.  My hemp climbing rope is just visible under the taller porch in the rear.  It hangs between the middle and left windows so as to be mostly invisible from within the house.


Meanwhile, work continues inside on the cabinets.  Our cabinets were ordered with solid wood drawers, but delivered with plywood boxes.  Additionally there were several dimensions that were incorrect and the wrong hardware.  All of it is being fixed, but it has delayed us a bit.  We are also still waiting on interior doors.  Our installer, Chris (below), is fantastic.

And here's the kitchen after most of the cabinets are in:


The kitchen is solid cherry (except the island which will be painted).  The entertainment center and master bath are also cherry.  Other bathrooms and Emily's office are pine (which will be painted).  The guest bathroom is walnut.  Here's the entertainment center:


Here's a view of the living room with the entertainment center on the right.


And a closeup of the outside cedar ceiling, looks nice.


The floor in most of the house is a Mirage hardwood (Aged Maple Brownie), shown below at bottom.  The kitchen cabinets will be stained the darker color to the right and above the floor.  The entertainment center will be stained the lighter color to the left and above the floor.


The temporary power was put in today.


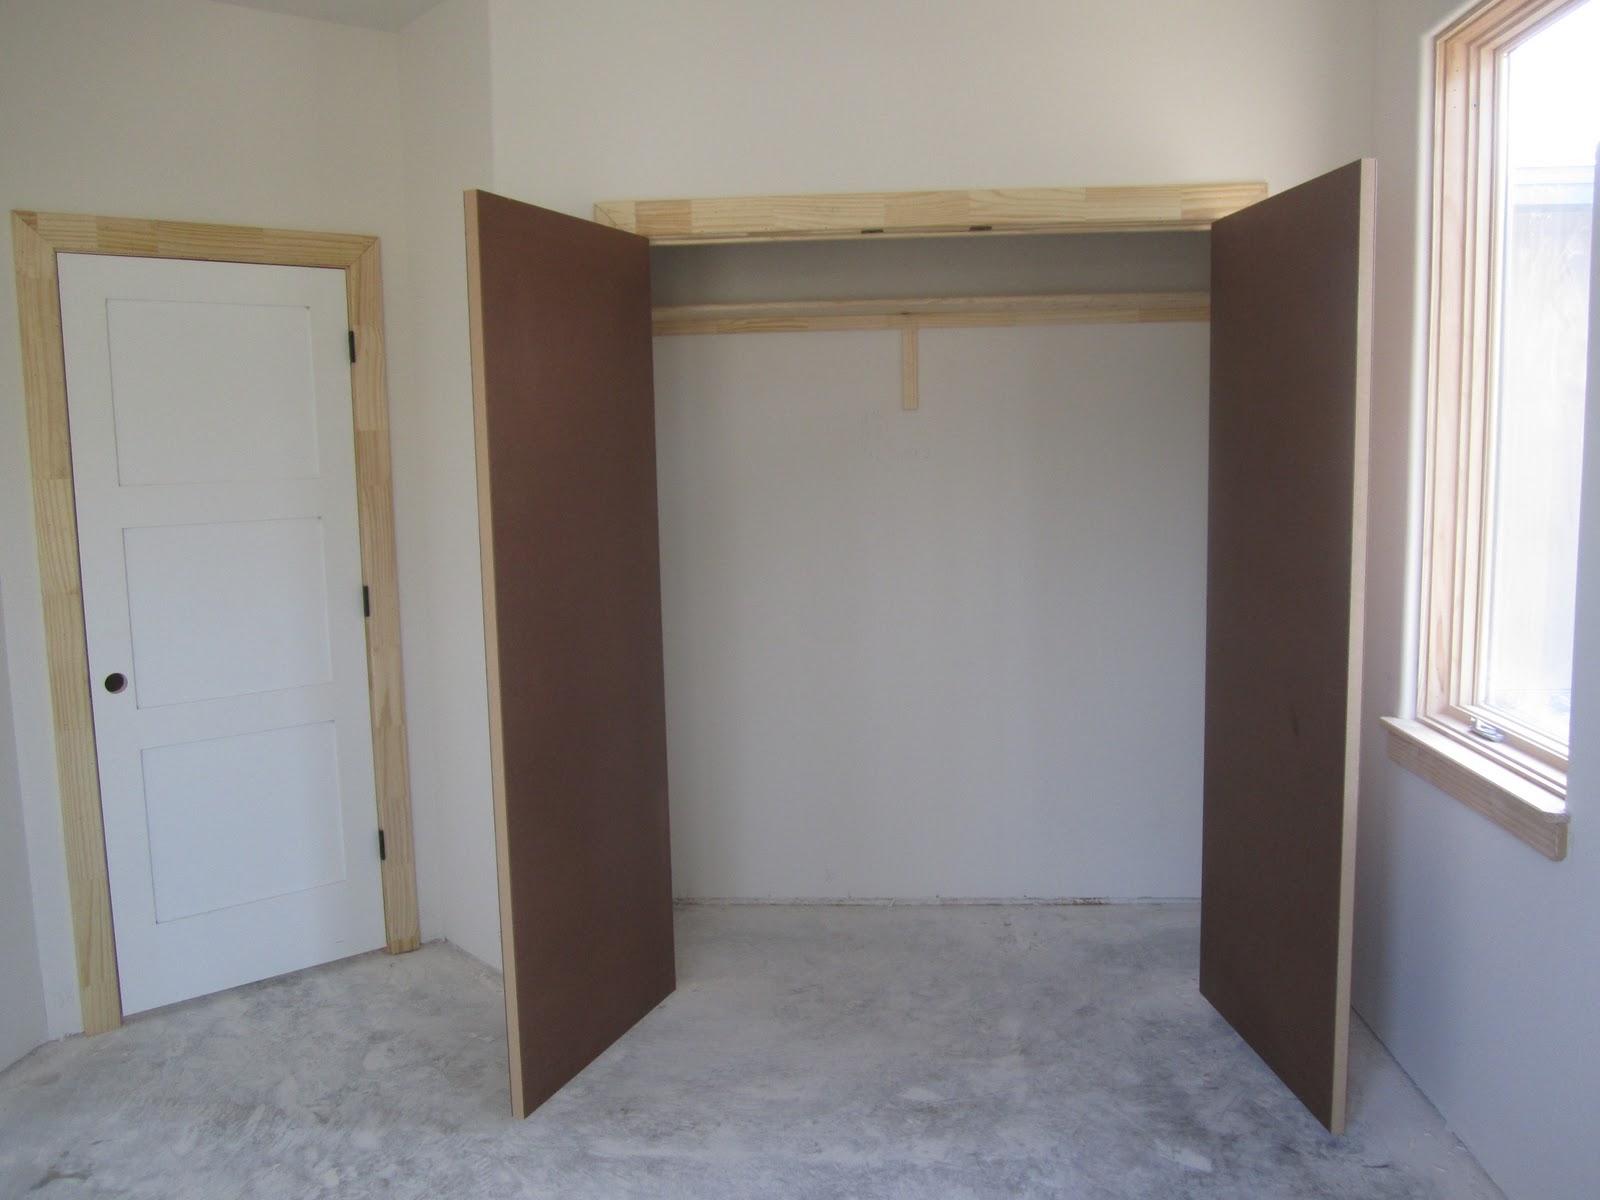
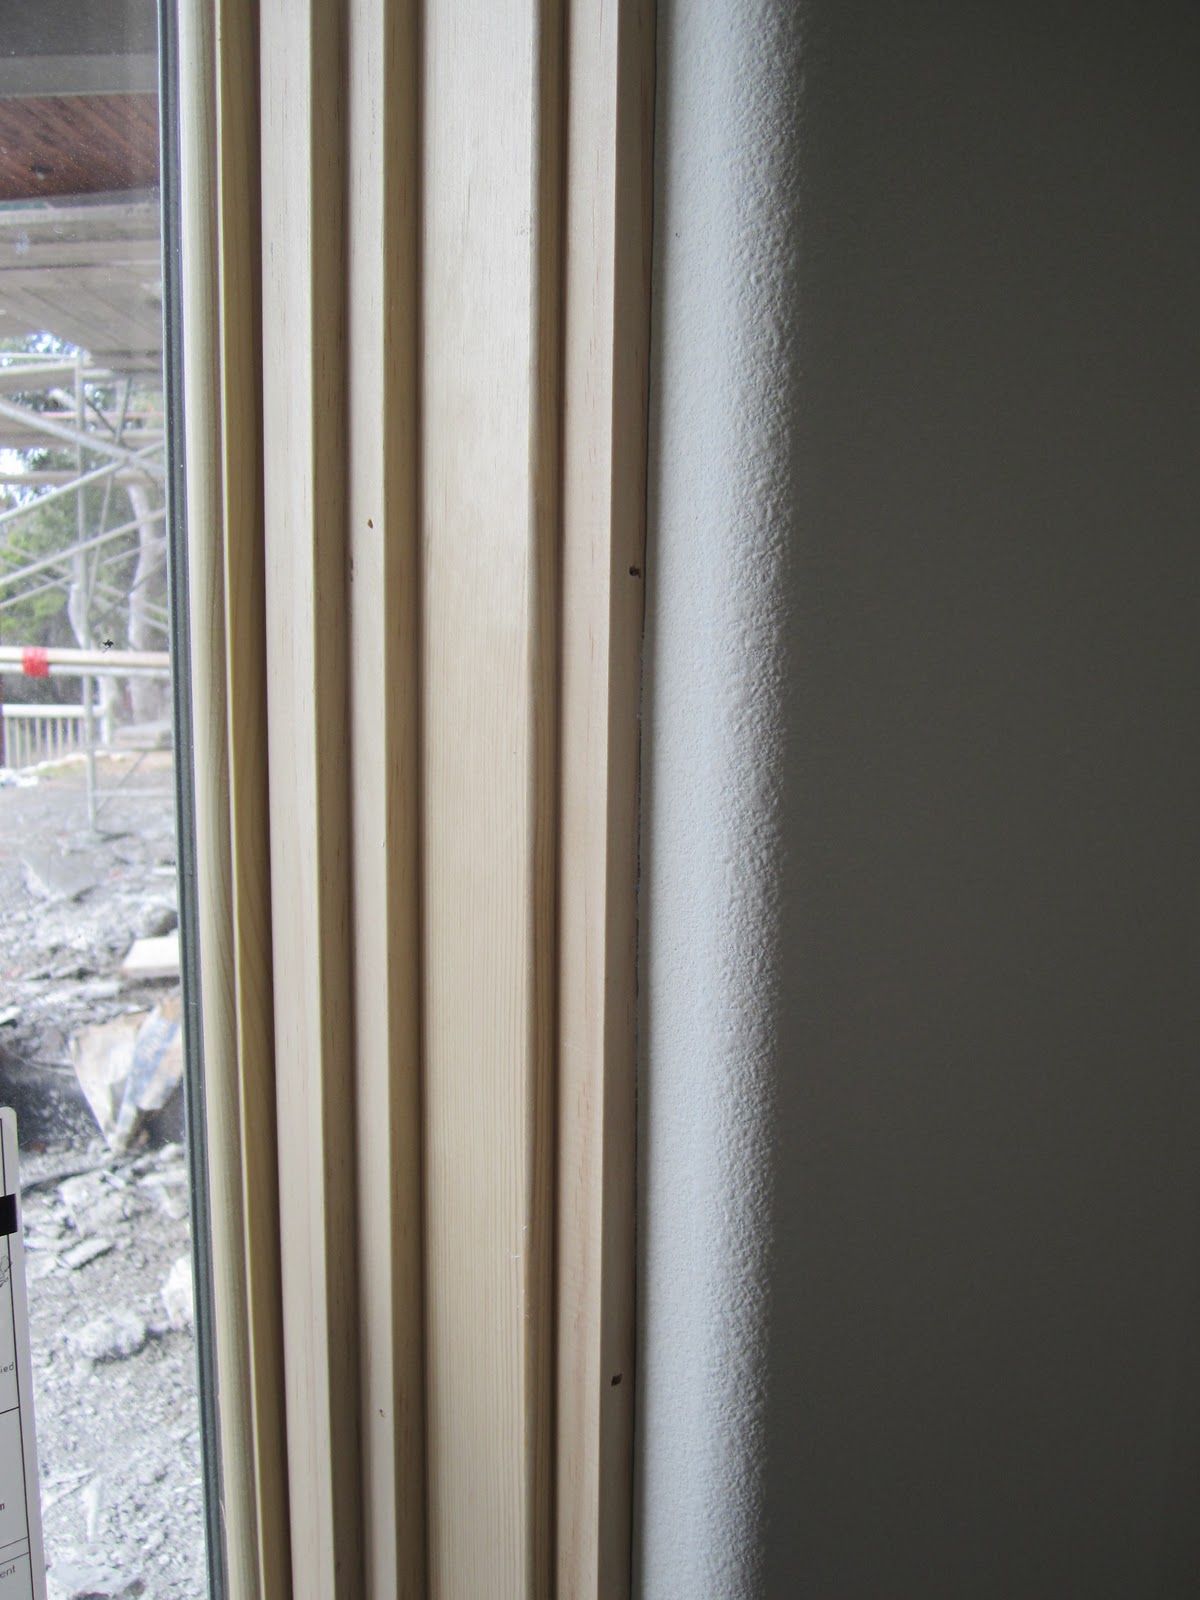
Tomorrow Willie our trim carpenter arrives to turn the pile of lumber below into our closets, baseboard, and window sills.  (Except the MDF - we're returning that for pine #2 as I don't want MDF even in the closets.)


As soon as we finish cleaning up the stucco detritus we'll put in the HVAC systems.  Garage doors should arrive late this week or early next. 

19 January 2011

Sheetrock and Cabinets

Today we had the grand unveiling for our windows and doors - we removed the tape and plastic that covered them during the sheetrock texture application.


When we first started the project, I was planning to put in fiberglass or vinyl windows.  We did that for all of the bathrooms (wet areas).  I like the look of the sheetrock bullnose return going into the window.  It shows the depth of the 6" exterior walls and this allows us to not use any wood trim around the windows.


Somehow we were talked into wood windows during the project and it presented a unique set of challenges.  The casing was 4" to allow for sheetrock returns rather than wood trim.  Unfortunately the casing was too narrow to return the bullnose into it.  So we had to bring in Willie the trim carpenter to make custom pine strips around the window out of ripped 1"x4"s.  And then the interior sides of the window that will have sheetrock texture applied were made out of various widths of ripped plywood pieces (depending on each rough opening).  The plastic piece of bullnose had to be cut on the window side in order to stop at the pine reveal.  If it sounds complicated and time consuming, it was.


The following picture shows the window detail.  The piece of pine (reveal) touching the sheetrock texture (which is actually plywood on the inside of the window) is the one Willie installed.


After painting, the joint between sheetrock and wood will be caulked, hiding the imperfect line.   The next photo shows the upper windows which still need to have the plastic and painters tape removed.  It also shows the rough bottom edge of the windows - not a mistake - a wood sill will go there.


And the master bedroom:


The first of the cabinets arrived today.  In addition to kitchen and bathrooms, we had bookshelves made for one wall of Emily's office and a large unit made for the living room to house the TV and books.


Most of the cabinets are cherry.  The kids bathroom (below), Emily's office, and the utility room are paint grade pine:


The guest bathroom is walnut and has a more contemporary look.


All cabinets will be stained onsite.  We found a stain for the kitchen and master bath that gives a dark brown look with no red tones but shows the grain of the wood.  The wood window casings and doors will be stained something close to the dark brown hardwood floor (and kitchen cabinets).   The entertainment center will be a lighter shade as it (unlike the kitchen cabinets which rest on unchipped, unfilled travertine) will be on the dark hardwood floor.

15 January 2011

Sheetrock Progress

We've had a cold week in Austin, Texas.  When the weather is very cold the joint compound used with the drywall takes a long time to dry.  But we've still been able to complete the hanging, taping, and floating.  Yesterday the primer was applied to all walls, and right now the light orange peel texture is being applied.  Here are a few photos of the progress during the week.


These photos were taken after the first coat.  3-4 coats were applied to get everything just right.


This next photo shows the kids' bedrooms with shared bathroom at the far end.


We've been worried about the amount of light we'd have in the kids' bedrooms especially and throughout the house.  These photos were taken on a cloudy day, with plastic over all windows, and no interior lights.  So looks like we have plenty of natural light in the house.


Following the taping, a primer was sprayed on all surfaces so that the sheetrock paper would not absorb the final texture coat.


And a view of the same kitchen from the living room this time.  Look closely and you can see the 3/4" bullnose which goes into the windows  and door openings.  We will be painting that rather than putting wood trim around those areas.


This last photo shows the front door this morning.  Note that you can see the truck and trailer out the front door that is being used to spray the final light orange peel texture throughout the house.

We installed lots of can lights throughout the house - and many were in straight lines or grids to mark corridors or in large rooms.  The ones from the front door to just right in the picture above had the final light 1 3/4" out of line, so we had to cut and patch the sheetrock to move it.  No big deal, but good thing we caught it now rather than later.

05 January 2011

Looking Like a House Again

Now that we are finally back from our winter trip, the house has many changes.  While we were gone the new roof was installed, stucco work continued, insulation was installed, and sheetrock begun.  Here's the unpainted exterior:


The windows and doors have red tape and plastic covering them to keep out the mess.  And one of the sides:


For the roof, we chose Timberline 30 year asphalt shingles in Weathered Wood.  We installed ridge vents all around.


We went with R-19 insulation in the walls (2x6 exterior walls) and R-30 in the ceilings. 


The different color is because the old part of the house had some studs 24" on center and all new construction was the standard 16" on center.


Between the master and the living room, we installed some sound-deadening insulation in the wall and added a sheet of soundboard between the studs and sheetrock to keep the bedroom quiet.  Here's the sound insulation before the 1/2" soundboard was added.
The sheetrock is being installed now and will be floated, taped, and textured over the next 10 days.


And the main living area and kitchen area below.  The hallway on the far left leads to my office and a 3'0 x 8'0 reeded glass door will be installed there.


The master shower has Hardi board all around and we fiberglassed the niches and bench for waterproofing.


Tomorrow we meet with the designers to discuss final tile selection, interior colors, trim hardware, and lighting.